
Lovely Hannah Bullivant is an expert wreath maker, together with her daughter Frankie she has put together wreath step by step guide for the holiday season.
Over to Hannah.....
The end of November marks the beginning of silly season in our home as I prepare to make dozens of Christmas wreaths and garlands as part of my job as an interiors stylist. As well as classes I also dress and style some local shops and businesses, too. My children have known nothing different; they are completely used to seeing me surrounded by- and partially buried- in foliage. My husband calls it ‘Jumaji time’.
The wreath making technique I teach involves weaving a circlet out of branches. It’s meditative and very effective, using only natural, compostable materials that are mostly foraged or grown locally. In the class I teach to adults, we make quite large woven base with lots of decorative material. However In it’s basic format, it’s very simple, which is why my kids have always made their own much simpler, but totally charming, wreaths alongside me.
Last week, in a friends field, I showed a group of children ranging from 5-9 years old how to weave their own wreath, and they all picked it up effortlessly and created gorgeous little wreaths.
I asked my 9 year old daughter if she would demonstrate the process for Mama Owl customers and their children, and she very happily agreed. Our process is below, with step by step photos which we hope will break down the process for you. Part of the joy of this process is in the gathering; in the time spent outdoors noticing the often overlooked beauty of this time of year. Wrap up warm and go for a winter walk to gather your materials. Notice the colours and shapes of the things you see. Dried weeds can be really beautiful, and spotting which trees and shrubs are ‘evergreen’ is interesting too.
*You only need to gather a few small handfuls of materials for this wreath- please be responsible when foraging and never leave a trace of where you’ve been*.
Ok, let's begin.
1. Gather.
You will need 5-10 thin bendy branches or vines to make a 25 diameter wreath like ours. We have used silver birch here. Other things that work well: grape vine, honeysuckle, willow- any bendy branch.
You’ll also need to gather a few decorative items. Here we gathered a small handful of fir, a few dried fennel heads, some dried grasses and some bright red Acer leaves from the field where we live.

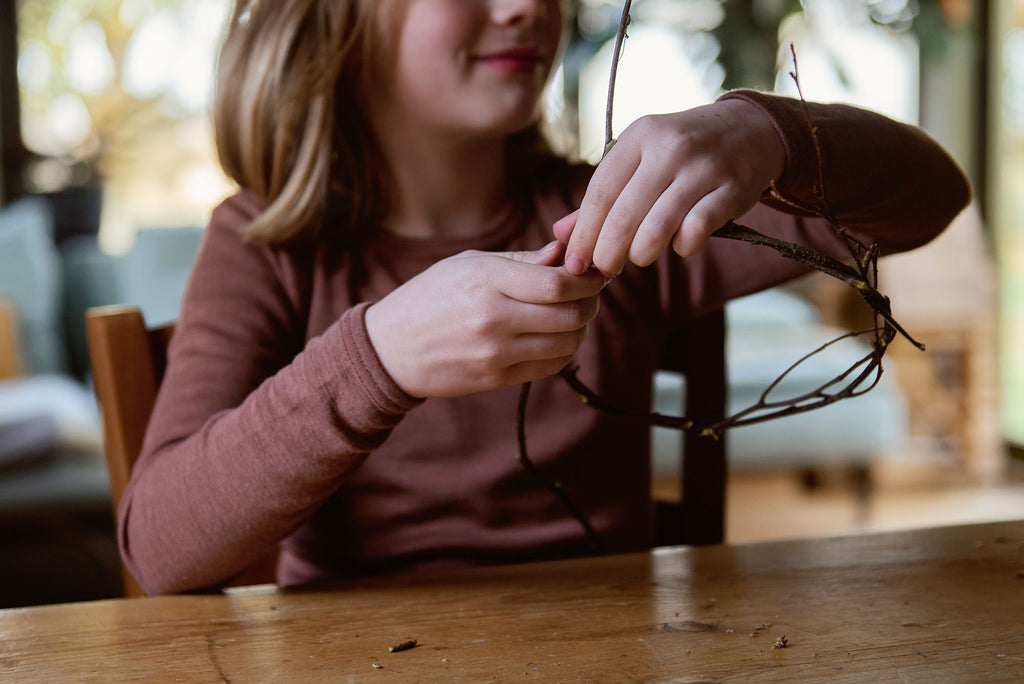
2. Prepare the branches
To begin with, find one 75-100 cm length of vine or branch. Strip away any other branches and most of the leaves. I think it looks nice to leave a few leaves attached right at the ends. It should look like this. Strip another 3-4 branches. Even very little kids Will enjoy pulling the leaves off.


3. Create the circle.
To make the circle, join the 2 ends together, then cross them over, so it makes s circle about 25cm in diameter:

…Make sure the ends are sticking out quite a long way, like in the photo. Then, simply tuck the ends in around the circle, like this

Then you add in another 3-5 branches. To do this, hold the wreath in your hand along with the next length of branch (which should be stripped down).

Then tuck the ends in, wrapping them around the circle. It should hold itself together. Keep bending the whole thing into a circle as you work. It doesn’t matter which way the branches are facing, just tuck the ends around the circle.
It should now look chunkier. Your base is now complete. It needs to be a bit chunky in order to hold its shape when you decorate it. Otherwise it can droop.

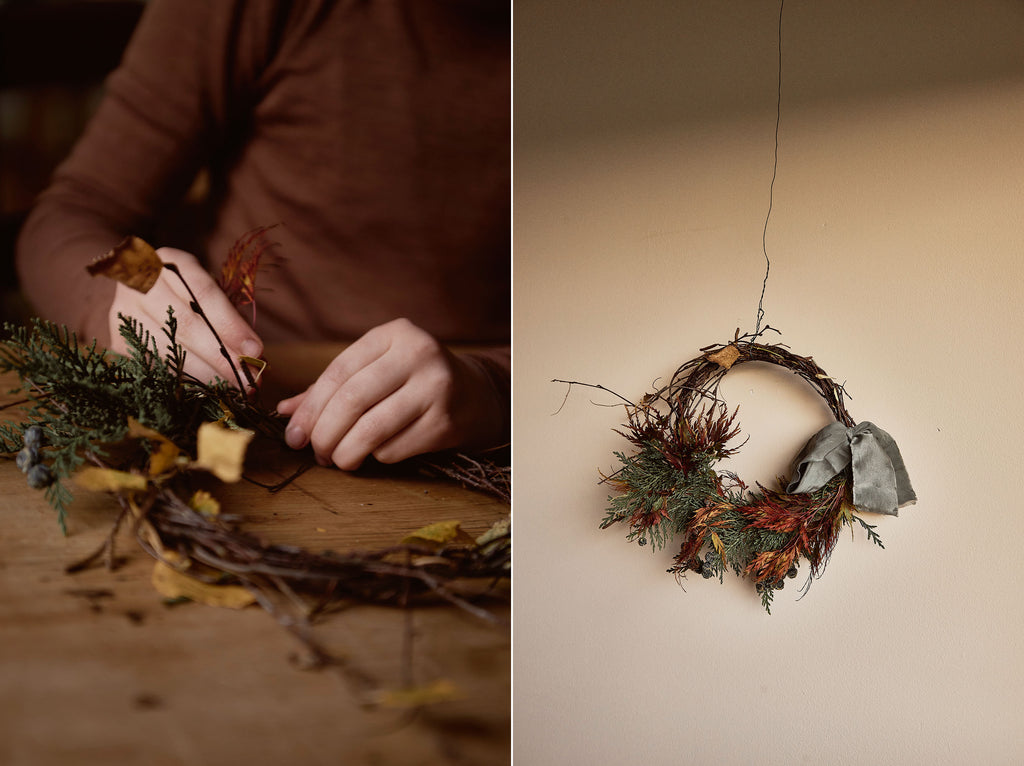
4. Decorate
Now you decorate it! Actually, you don’t have too, they look lovely when they are bare like this. But if you do want to decorate it, here’s how you do it.
Frankie has 2 techniques to show you for adding decoration to the wreath, one for younger kids and one for older kids.
Prepare the decoration by cutting it down into small pieces. For a 25cm diameter circle, each little bit should be no longer than 7 or 8 cm.

Younger kids can simply poke these bits into the woven wreath. Gently encourage them to do this so the decorative branches are facing the same direction to keep it looking neat.

Here is the finished version 1 wreath with the simpler technique.

Older kids may like to try using string or wire to hold the decorative branches together. To do this, the child will need to select 3 bits of foliage from the material prepared earlier.

Wrap the wire or string around the base of the bundle tightly but don’t cut the wire/string off. Leave it attached.

Add another 2-3 bundles in exactly the same way. Make sure each bundle is covering the wire of the previous bundle- which means it's covering about 2/3rds of the previous bundle. Also make sure all bundles are facing the same direction.

Then add a ribbon. This is a naturally dyed silk ribbon from The Natural Dye Works.


Hang your wreath on your front door, bedroom door or wall - or wherever you want!
ENJOY
Instagram : hanbullivant/
If you would like to join one of Hannah’s wreath making classes for adults, you can see her classes here